
The Mistake Most Homeowners Make First
You feel cold air sneaking under the garage door, or you notice a dark line of grit and dead leaves along the slab every time you sweep. The tempting fix is to grab a tube of caulk and seal the gap shut, or shove a towel against the bottom of the door and call it good. It's fast, it's cheap, and it seems to work for about a week.
Then the freeze-thaw cycle we get every winter in West Michigan goes to work. Caulk against a moving door cracks and peels within a season. A towel soaks up slush and road salt and just holds the moisture against your slab instead of keeping it out. Neither fix touches the actual problem, which is a worn-out bottom seal or weatherstripping that's no longer doing its job. The real fix costs about as much as that tube of caulk and takes less time than you'd think.
What's Actually Letting In Drafts, Water, and Pests
A garage door has three sealing points: the bottom seal (also called an astragal) that presses against the slab, the weatherstripping along the side jambs and header where the door meets the frame, and sometimes a threshold seal attached to the floor itself. Any one of these can fail on its own. A bottom seal gets brittle and cracked from UV exposure and the flexing it does every time the door opens. Jamb weatherstripping gets brittle too, or it pulls loose from years of being splashed with mud during spring thaw.
When these seals fail, you get more than a cold garage. You get meltwater and salt brine pooling just inside the door, mice and spiders finding an easy way in during the fall, and a steady layer of dust blowing in every time a summer storm kicks up wind ahead of the rain.
Tools and Materials You'll Need
- Tape measure
- Utility knife
- Flathead screwdriver
- Replacement bottom seal (bulb-style or T-style, matched to your existing track) sold by the foot or in kits sized to standard door widths
- Adhesive-backed or nail-in jamb and header weatherstripping
- Stiff broom or shop vac
- Household cleaner or mild soap and water
- Work gloves
- A helper, if your door is wider than a single-car opening
Step-by-Step: Replacing the Bottom Seal
- Identify your seal type. Most doors use either a bead/bulb seal that slides into a retainer track along the bottom edge, or a flat T-style seal. Take a photo of the existing seal's cross-section before you shop so you buy the right match.
- Measure the door width. Seals are usually sold slightly oversized so you can trim to fit, but you still want the correct width for a single or double door.
- Open the door partway and support it. You want easy access to the bottom edge without the full weight resting on the seal while you work.
- Pull the old seal out of the track. It usually slides out lengthwise; if it's glued or nailed on an older door, pry it gently with the flathead screwdriver.
- Clean the track and the slab. Road salt residue and dried mud will keep a new seal from sitting flush, which defeats the purpose.
- Feed the new seal into the track, starting at one end and working across. Trim any excess with the utility knife.
- Close the door and check contact. The seal should touch the slab evenly across the full width with no light gaps underneath.
Step-by-Step: Replacing Jamb and Header Weatherstripping
- Remove the old strip. Peel off adhesive-backed material or pull nails/staples from nail-in strips.
- Clean the jamb surface so new adhesive strips actually bond, especially if there's been condensation or dust buildup.
- Measure and cut new weatherstripping for both side jambs and the header, mitering corners if your product calls for it.
- Press or nail the new strip into place, working from the top down each side.
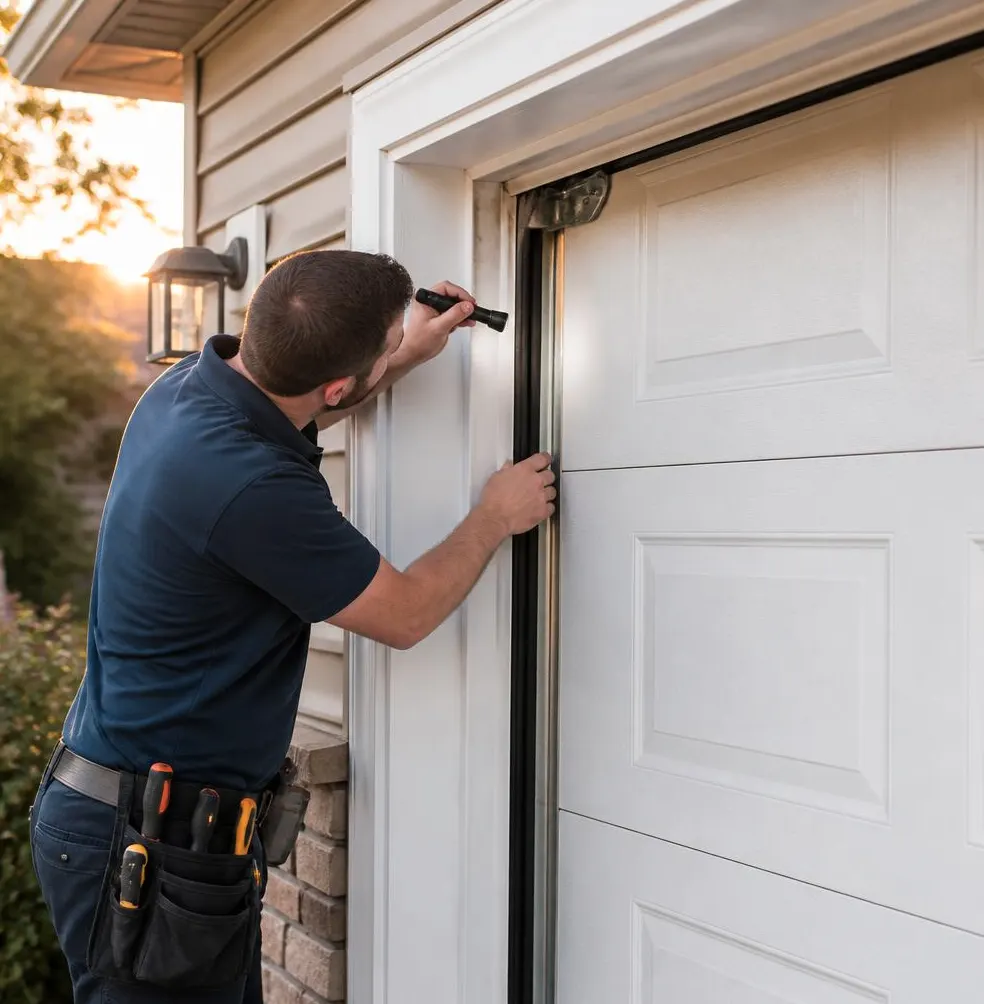
- Close the door and do a light test. Have someone stand inside with the lights off while you shine a flashlight around the edges from outside. Any light leaking through marks a gap that still needs attention.
What a Homeowner Can Handle vs. What Needs a Technician
Replacing a bottom seal and jamb weatherstripping on a door that opens, closes, and sits square is a genuinely reasonable weekend project. The tools are simple, the materials are inexpensive, and the payoff in reduced drafts and water intrusion is immediate.
Where this becomes a job for a technician is when the new seal still won't sit flush no matter how you adjust it. That usually means the door itself is slightly warped, the track is out of alignment, or the bottom bracket has shifted, any of which puts tension on cables and springs that shouldn't be handled as a DIY fix. If your door doesn't close fully flat against the new seal, if you hear new noises after reinstalling the opener's travel limits, or if the astragal is part of an insulated steel door with a more complex retainer system, that's the point to stop and call in help.
When to Call Plainwell Garage Door
If you've replaced the seals and the gaps persist, or if your door is older and you're not sure the track and springs are in good enough shape to support new weatherstripping doing its job, that's where we come in. Our Garage Door Maintenance visits check track alignment, panel condition, and hardware wear alongside the seals, so you're not just treating the symptom. If the inspection turns up a bent track, worn rollers, or a spring that's past its service life, our Garage Door Repair team can handle that in the same visit.
If you're dealing with drafts, water, or pests getting into your garage this season, give Plainwell Garage Door a call. We serve Plainwell, Otsego, Allegan, Martin, Kalamazoo, Portage, Richland, and Cooper Township, and we're happy to take a look before the next cold snap settles in.